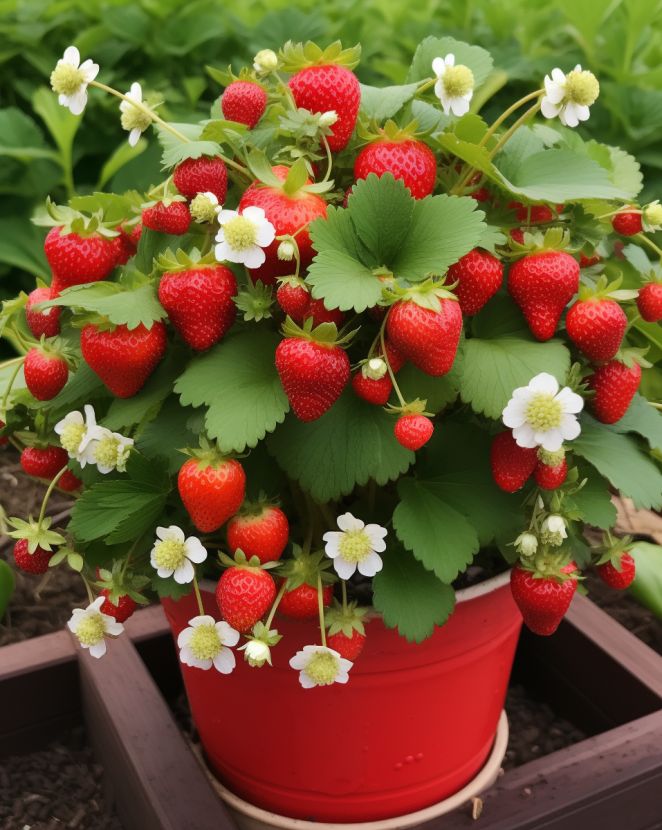
Are you yearning for the sweet taste of freshly picked strawberries but lack the space for a traditional garden? Don’t worry! Growing strawberries in a planter is a fantastic solution that allows you to enjoy the delicious fruits right at your doorstep. Whether you have a small balcony, a sunny patio, or limited yard space, a planter provides the perfect opportunity to cultivate these delectable berries.
With the right care and attention, you can savor the joy of homegrown strawberries without the need for a sprawling garden. In this step-by-step guide, we’ll walk you through the process of growing strawberries in a planter, ensuring a bountiful harvest and a delightful addition to your culinary adventures.
Step 1: Choose the Right Planter
Select a planter that is at least 12 inches deep to provide enough space for the strawberry plants’ roots. Ensure that the planter has drainage holes to prevent waterlogging.
Step 2: Choose the Right Strawberry Variety
There are different types of strawberry plants available, so choose a variety that suits your climate and growing conditions. Some popular varieties include June-bearing, everbearing, and day-neutral strawberries.
Step 3: Prepare the Soil
Use a well-draining potting mix or a combination of garden soil and compost. Ensure that the soil is loose and friable to allow proper root development. Avoid using heavy clay soil, as it can retain too much moisture.
Step 4: Plant the Strawberries
Place the planter in a sunny location that receives at least 6 hours of direct sunlight per day. Fill the planter with soil, leaving about 1 inch of space below the rim. Space the strawberry plants about 12 inches apart, allowing enough room for growth. Make sure the crowns (the area where the leaves meet the roots) are level with the soil surface.
Step 5: Water the Plants
ADVERTISEMENT

