
Step 5: Water the Plants
ADVERTISEMENT
ADVERTISEMENT
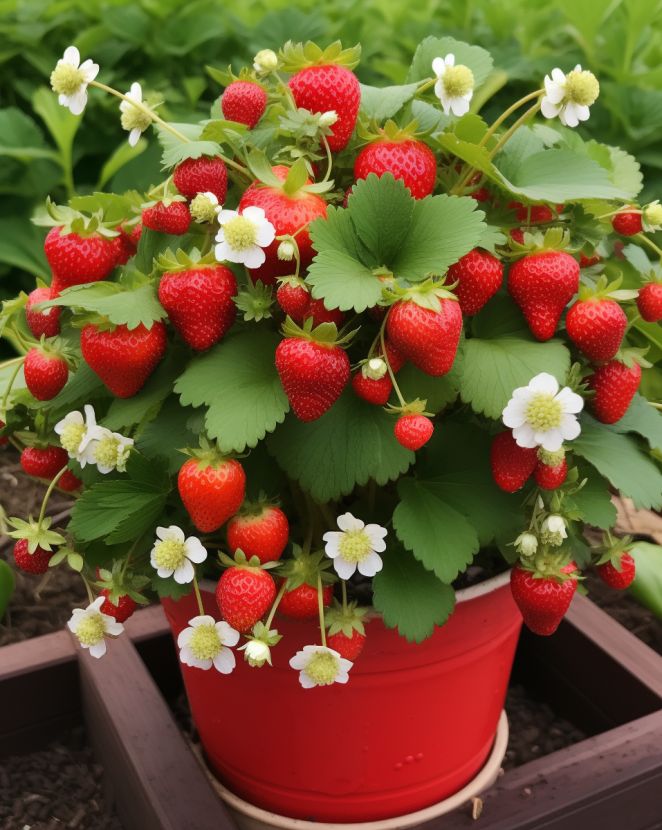
Forget buying strawberries. Grow them at home with this easy step-by-step guide
After planting, water the strawberry plants thoroughly. Ensure that the soil is evenly moist, but not waterlogged. Water regularly, especially during dry periods, and avoid overhead watering to prevent diseases.
Step 6: Provide Nutrients
Strawberries are heavy feeders, so they require regular fertilization. Use a balanced, slow-release fertilizer or apply a liquid fertilizer every two to three weeks, following the manufacturer’s instructions. This will help promote healthy growth and fruit production.
Step 7: Mulch the Plants
Apply a layer of straw or mulch around the strawberry plants to suppress weed growth, retain moisture, and protect the fruit from direct contact with the soil. Spread the mulch evenly, making sure to keep it away from the crowns.
Step 8: Monitor for Pests and Diseases
Regularly inspect your strawberry plants for signs of pests or diseases, such as aphids, slugs, or fungal infections. If you notice any issues, take appropriate measures to control them, such as using organic pest control methods or consulting with a local garden center for advice.
Step 9: Pollination
Most strawberry varieties are self-pollinating, but to ensure better fruit set, you can gently brush a soft-bristled brush or your finger against the flowers to transfer pollen between plants.
Step 10: Harvest the Strawberries
As the strawberries ripen, they will turn fully red and become sweet and juicy. Harvest them when they are fully ripe by gently plucking them from the plants, taking care not to damage the fragile fruit. Enjoy your homegrown strawberries!
ADVERTISEMENT
ADVERTISEMENT
