
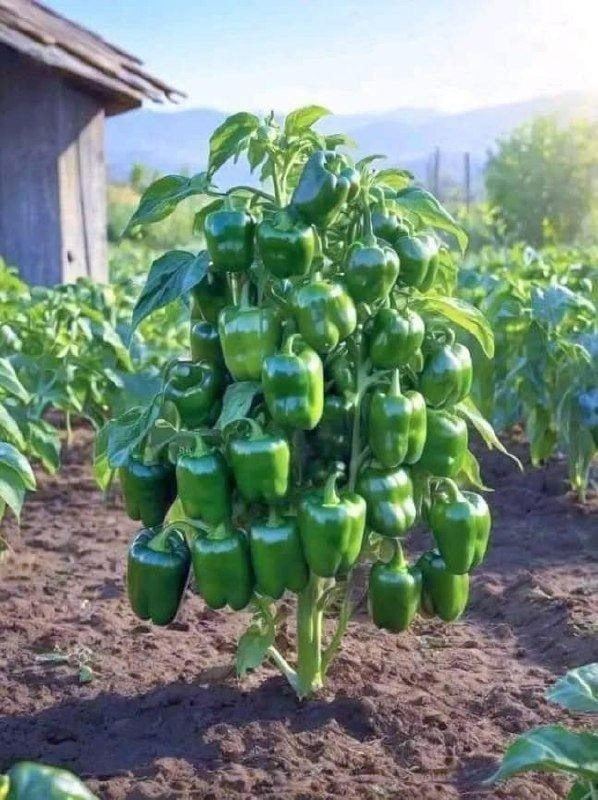
Peppers are one of the most popular and delicious vegetables in home gardens. With their unique flavor and nutritional benefits, they’re an excellent choice for home cultivation. If you follow these simple but effective tips for planting peppers, you’ll enjoy a rich and abundant harvest of fresh, tasty produce!
1. Choose the Right Seeds
The first crucial step is selecting the type of pepper you want to grow. There’s an incredible variety—ranging from sweet and mild to hot and spicy. Make sure to choose a variety that suits your climate and garden space. It’s also recommended to buy high-quality seeds instead of using old ones to ensure successful germination.
2. Prepare the Soil Properly
Peppers need loose, well-drained, nutrient-rich soil. The ideal soil pH for peppers is between 6.0 and 7.0. To improve soil quality, mix in compost or well-rotted manure before planting. This step will ensure your plants have all the nutrients they need to grow strong.
3. Choose the Right Planting Location
Peppers need lots of sunlight to grow properly, so choose a spot in your garden that gets at least 6–8 hours of direct sunlight daily. Make sure the area is weed-free and has enough space for the plants to spread out.
4. Plant at the Right Time
Peppers are sensitive to cold, so wait until temperatures are consistently above 15°C (60°F) before planting outdoors. If you live in a colder climate, you can start the seeds indoors or in a greenhouse about 8–10 weeks before the last expected frost. Once the seedlings are about 10 cm (4 inches) tall and the weather is warm, you can transplant them into the garden.
5. Proper Planting
When you’re ready to plant your peppers in the ground, make sure to leave enough space between each plant. Ideally, space them 45–60 cm (18–24 inches) apart. This allows them to grow healthily without overcrowding. When planting, bury the plant up to the level of the soil mix—it’s okay if part of the stem is buried, as pepper plants can grow extra roots along the stem, providing more stability and support.
6. Watering Properly
see continuation on next page
ADVERTISEMENT
