
Steps
1. Preheat your oven to 350°F (175°C) and grease an 8×8 inch baking pan.
2. In a mixing bowl, combine the flour, cocoa powder, and salt. Mix well and set aside.
3. In a separate bowl, whisk together the melted butter and sugar until well combined.
4. Add the eggs, one at a time, to the butter-sugar mixture, mixing well after each addition.
5. Stir in the red food coloring, vanilla extract, and white vinegar until the mixture is smooth.
6. Gradually add the dry ingredients to the wet ingredients, mixing until just combined.
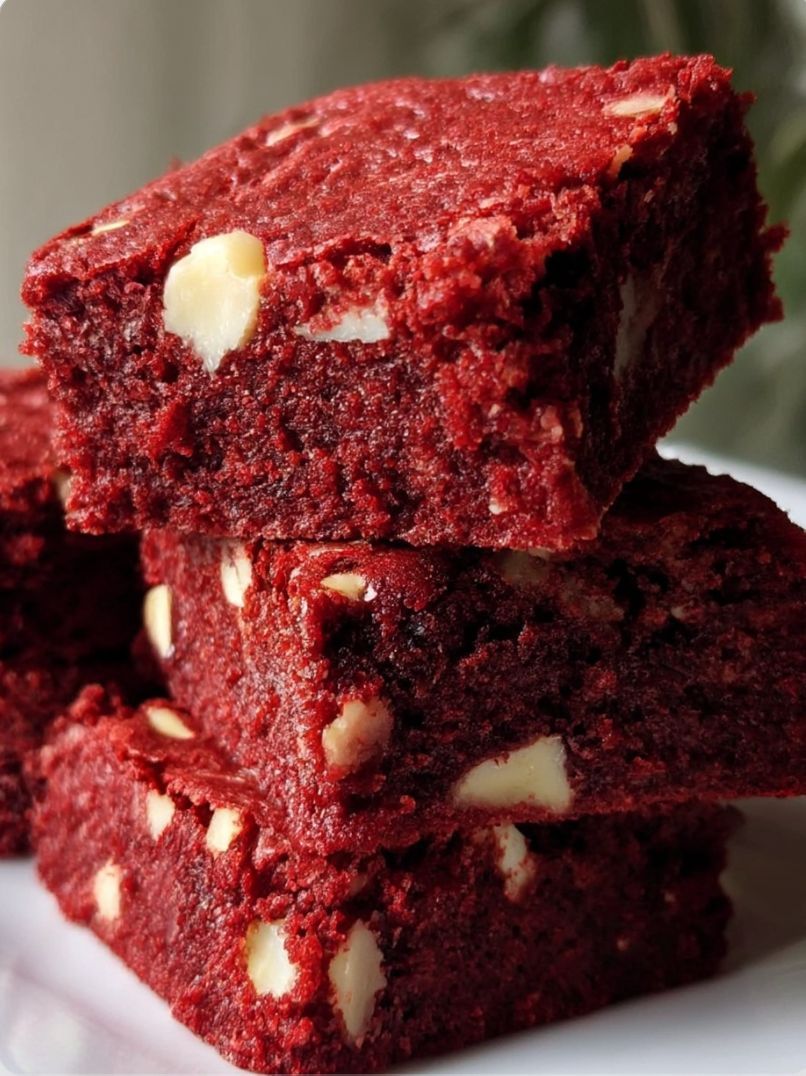
7. Fold in the chopped walnuts or pecans, if desired, to add a crunchy texture to the brownies.
8. Pour the batter into the prepared baking pan and smooth the top with a spatula.
9. Bake in the preheated oven for 25-30 minutes, or until a toothpick inserted into the center comes out with a few moist crumbs.
10. Allow the brownies to cool completely in the pan before cutting into squares and topping with cream cheese frosting.
Follow these steps carefully to achieve the perfect balance of chocolatey goodness and tangy sweetness in your Red Velvet Brownies.
Variations
There are endless ways to customize your Red Velvet Brownies to suit your preferences and dietary needs. Here are a few variations you can try:
1. Gluten-Free Option: Substitute the all-purpose flour with a gluten-free flour blend to make these brownies suitable for gluten-sensitive individuals.
2. Vegan Version: Replace the eggs with a flaxseed or chia seed egg substitute and use vegan butter to create a plant-based version of these Red Velvet Brownies.
3. Nut-Free Variation: Omit the walnuts or pecans from the recipe if you have nut allergies or prefer a nut-free option.
4. Swirled Cream Cheese Topping: Instead of spreading the cream cheese frosting on top, create a swirl pattern by dolloping the frosting on the brownie batter before baking.
Feel free to experiment with different ingredients and techniques to make these Red Velvet Brownies uniquely yours.
Tips
1. Use high-quality cocoa powder to enhance the chocolate flavor of the brownies.
2. Allow the brownies to cool completely before cutting to ensure clean and neat slices.
3. Store leftover brownies in an airtight container at room temperature for up to 3 days, or in the refrigerator for longer freshness.
4. Serve the Red Velvet Brownies with a scoop of vanilla ice cream or a drizzle of chocolate sauce for an extra indulgent treat.
By following these tips, you can elevate the taste and presentation of your Red Velvet Brownies for a delightful dessert experience.
Conclusion
In conclusion, Red Velvet Brownies are a delightful combination of rich chocolate flavor and tangy sweetness that are sure to please any crowd. Whether you are baking for a special occasion or simply craving a sweet treat, these irresistible brownies are the perfect choice.
With simple ingredients and easy steps, you can create a batch of Red Velvet Brownies that will have everyone asking for more. Customize the recipe with different variations and toppings to suit your taste preferences and dietary needs.
So, roll up your sleeves, preheat your oven, and get ready to bake a batch of these indulgent Red Velvet Brownies that will surely become a favorite in your household.
FAQs
Q: Can I use beetroot juice instead of food coloring for a natural red hue?
A: Yes, beetroot juice can be used as a natural alternative to food coloring for a healthier option.
Q: How can I prevent my cream cheese frosting from becoming too runny?
A: Ensure that the cream cheese and butter are at room temperature before mixing, and gradually add the powdered sugar to achieve the desired consistency.
Q: Can I freeze the Red Velvet Brownies for later consumption?
A: Yes, you can freeze the brownies in an airtight container for up to 3 months. Thaw them in the refrigerator before serving.
Q: Can I substitute buttermilk for the vinegar in the recipe?
A: Yes, you can use buttermilk instead of vinegar for a richer flavor and moist texture in your Red Velvet Brownies.
ADVERTISEMENT
