
Instructions
Phase One: The Crunch Foundation
Prepare the Pan: Line a 9×13-inch baking dish with parchment paper, leaving overhang on two opposite sides. This creates handles for lifting the finished slab. Grease the parchment lightly with butter or nonstick spray.
Melt the Marshmallows: In a large pot over low heat, melt the butter. Add the marshmallows and salt. Stir constantly with a silicone spatula until the marshmallows are completely smooth and molten. Do not rush this step. High heat scorches marshmallows and creates a grainy, tough base.
Add the Cereal: Remove the pot from heat. Add the cereal all at once. Fold gently but decisively until every grain is coated in marshmallow. Work quickly; the mixture stiffens as it cools.
Press the Base: Scrape the mixture into the prepared pan. Using a second sheet of parchment paper or lightly oiled hands, press the mixture into an even, compact layer. Do not press so hard that you crush every air bubble, but do compress firmly enough that the bars hold together when sliced. Set aside to cool completely while you prepare the caramel.
Phase Two: The Caramel Blanket
Unwrap the Caramels: This is the most tedious step. Enlist a child, a podcast, or a glass of wine. If you are using Kraft caramels, you have approximately 47 wrappers to contend with. If you are using a high-quality imported caramel, you have fewer, but the flavor difference is noticeable. Splurge on the good ones.
Melt the Caramels: In a medium saucepan over low heat, combine the unwrapped caramels and heavy cream. Stir frequently until the caramels are completely melted and the mixture is smooth, glossy, and pourable. Do not walk away; caramel burns easily and develops a bitter, acrid flavor when scorched.
Season: Stir in the flaky sea salt. Taste. It should taste like salted caramel, not sweet glue. Adjust salt as needed.
Pour and Spread: Pour the warm caramel over the cooled cereal base. Using an offset spatula, spread it evenly to the edges. The caramel will settle into the crevices of the cereal, creating that essential textural bond. Refrigerate for at least 30 minutes, or until the caramel is firm and no longer tacky.
Phase Three: The Chocolate Crown
Melt the Chocolate: In a microwave-safe bowl, combine the chocolate chips and coconut oil. Microwave in 30-second intervals at 50% power, stirring thoroughly between each interval, until the chocolate is smooth and liquid. Do not overheat; chocolate seizes when exposed to steam or excessive heat.
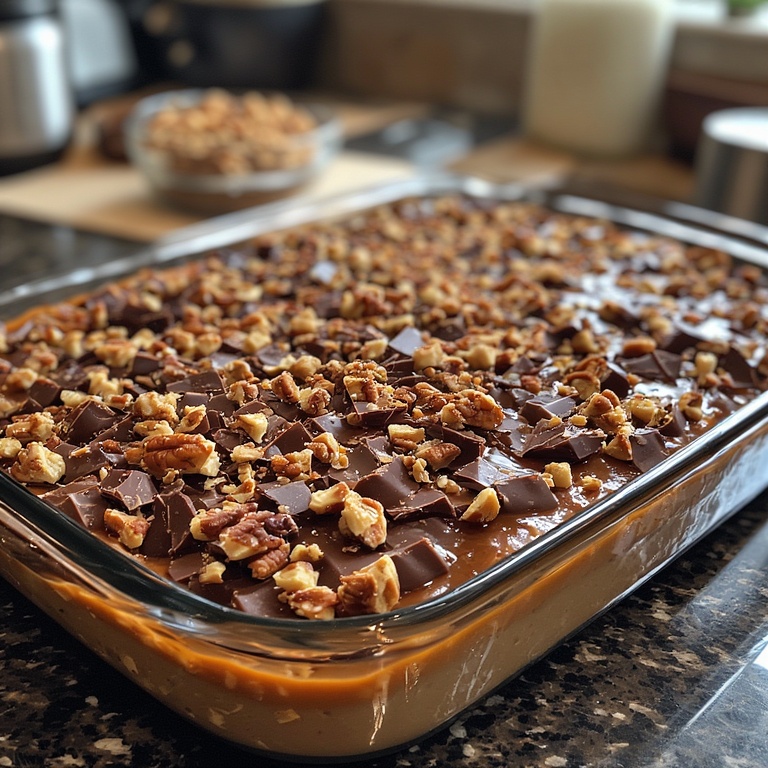
Pour and Spread: Pour the melted chocolate over the chilled caramel layer. Tilt the pan or use an offset spatula to spread the chocolate into an even, thin layer. Work quickly before the chocolate sets.
The Salt Moment: Immediately sprinkle the flaky sea salt over the wet chocolate. This is not optional. The salt must adhere to the chocolate surface, not sit on top of a set crust. Be generous.
Chill: Refrigerate for at least 1 hour, or until the chocolate is completely firm and snappy.
Phase Four: The Reveal
Lift: Use the parchment handles to lift the entire slab out of the pan. Place it on a cutting board.
Slice: Using a sharp, large chef’s knife, slice the slab into bars. Wipe the blade clean between cuts for sharp edges. For cleanest results, score the chocolate lightly first, then press firmly through the layers. Do not saw; sawing shatters the base.
Serve: Arrange on a platter. Watch them disappear.
ADVERTISEMENT
